If your garage door won’t close or keeps reversing, the most common cause is a faulty or misaligned garage door sensor.
The good news? You can usually fix it yourself in under 30 minutes—no professional needed.
In this guide, you’ll learn exactly how to diagnose and fix garage door sensor problems step by step, even if you’re a beginner.
What Do Garage Door Sensors Do?
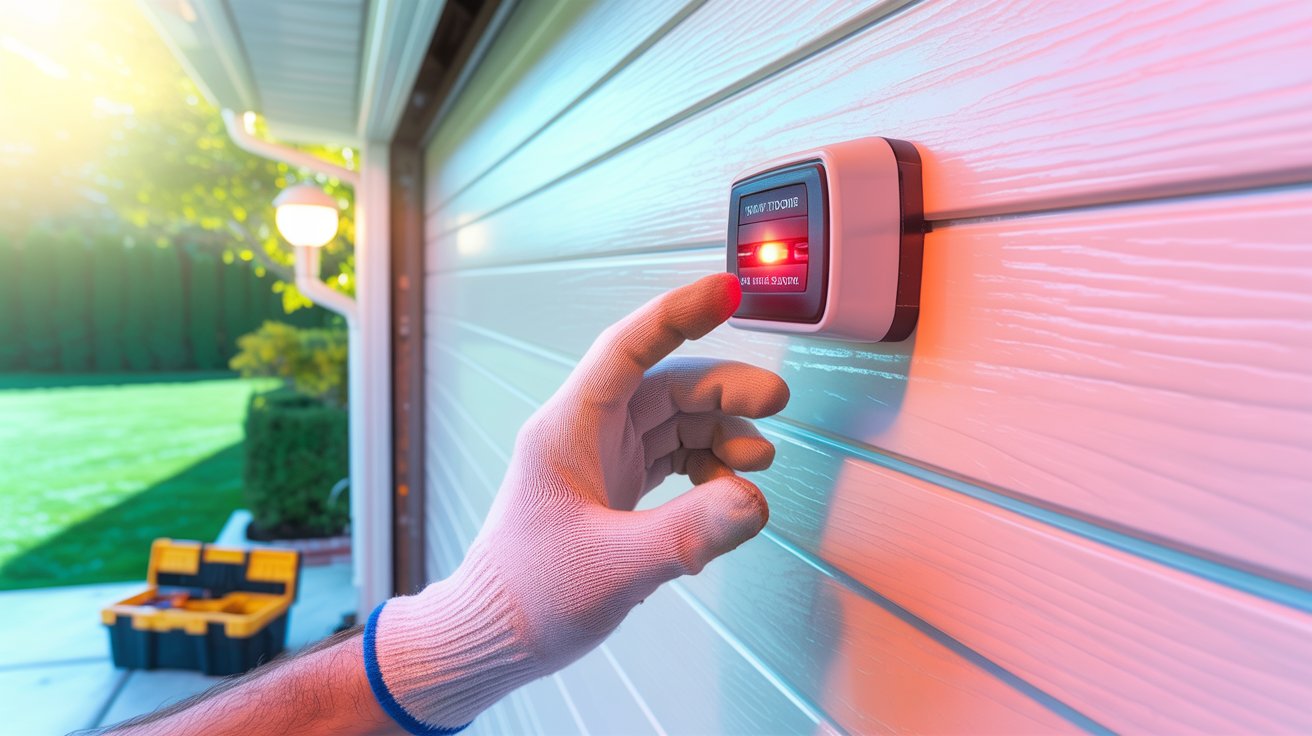
Garage door safety sensors (also called photo-eye sensors) are small devices installed near the bottom of your garage door tracks.
They:
- Send an invisible infrared beam across the door opening
- Detect obstacles (people, pets, objects)
- Stop or reverse the door for safety
If the beam is blocked or sensors aren’t aligned, your garage door won’t close properly.
Signs Your Garage Door Sensor Is Not Working
Look for these common symptoms:
- Garage door won’t close
- Door starts closing, then reverses
- One sensor light is off or blinking
- Red light blinking on garage door sensor
- Garage door works only when holding the wall button
Tools You May Need
- Soft cloth or microfiber towel
- Screwdriver
- Measuring tape
- Level (optional but helpful)
Step-by-Step: How to Fix Garage Door Sensor
1. Check for Obstructions
Sometimes the problem is simple.
✔ Look for:
- Dust, dirt, or spider webs
- Boxes or objects blocking the sensor
Clean the sensor lenses gently with a dry cloth.
2. Inspect Sensor Lights
Each sensor usually has an LED light.
- Solid green/light = working
- Blinking or no light = problem
If one light is off, that sensor needs attention.
3. Align the Garage Door Sensors
Misalignment is the #1 issue.
✔ How to fix:
- Loosen the sensor bracket screws
- Adjust sensors so they face each other directly
- Tighten screws once aligned
Tip: The lights should become steady when properly aligned.
4. Check Wiring Issues
Loose or damaged wires can break the signal.
✔ Look for:
- Frayed wires
- Disconnected terminals
- Chewed cables (common with rodents)
Reconnect or replace damaged wires if needed.
5. Adjust Sensor Height
Sensors must be at the same level.
- Typically installed 4–6 inches above the ground
- Use a measuring tape to ensure both are even
6. Test the Garage Door
After fixing:
- Press the remote or wall button
- Observe if the door closes smoothly
✔ If it works without reversing — problem solved!
How to Reset Garage Door Sensors
If issues persist:
- Turn off power to the garage door opener
- Wait 30–60 seconds
- Turn power back on
This resets the system and may fix minor glitches.
Quick Troubleshooting Table
| Problem | Likely Cause | Fix |
|---|---|---|
| Blinking red light | Misalignment | Adjust sensors |
| No light on sensor | Power/wiring issue | Check wires |
| Door reverses | Blocked beam | Clear obstruction |
| Works only with button | Sensor fault | Clean/align sensors |
Can You Bypass Garage Door Sensors?
Yes—but only temporarily.
👉 Hold the wall button continuously to close the door.
⚠️ Important:
Never permanently bypass sensors—they are a critical safety feature.
Expert Tips
- Clean sensors once a month to prevent issues
- Avoid direct sunlight hitting sensors (can interfere)
- Tighten brackets regularly to prevent misalignment
- Replace sensors if older than 8–10 years
When to Call a Professional
Call an expert if:
- Sensors still don’t work after alignment
- Wiring is severely damaged
- Garage door opener system is faulty
Final Thoughts
Fixing a garage door sensor is one of the easiest DIY home repairs.
In most cases, the issue is just:
✔ Misalignment
✔ Dirt
✔ Loose wiring
Follow the steps above, and your garage door should be working perfectly again.